Deploy React to DigitalOcean App Platform for Free
Showing the World Our React App heyylateef | Nov 10 2022Overview
Are you a beginner that recently got into programming, just finished a started project, and want to deploy your project to share it with the world? Deployment is a big process and has many solutions. Some of the most common environments to deploy your project maybe to use a PaaS (Platform as a Service) such as Heroku, Render, Azure Web App, or to managed your own infrastructure/services and use a IaaS (Infrastructure as a Service) such as DigitalOcean droplets, AWS EC2, Linode.
IaaS has been the traditional method of deployment for many years but with the rise of managed services since 2010, many developers has opted to use PaaS platforms to deploy their projects, especially those that are hobbyists and working with small-medium size businesses. Both environment have their pros and cons:
Infrastructure as a Service:
- (Pro) You have full control of your infrastructure
- (Pro) Usually most affordable environment
- (Con) You must manage the server all by yourself. Securing your infrastructure is 100% on you to figure out
- (Con) Little to no built-in automation. You are usually given a fresh server and you build on from there
Platform as a Service:
- (Pro) Underlying operating system updates are applied automatically, including security patches
- (Pro) Developers only need to worry about their code, the platform will take care of everything else regarding deployment and security on a server-level
- (Pro) Some cloud providers have a free tier (even without adding a credit card on file) so you can deploy your project completely for free
- (Con) Usually a more expensive environment
- (Con) Less control of overall infrastructure
- (Con) Deployment process can vary based on cloud provider
Again, both environments have their advantages and disadvantages. But in recent times, its better to take less risk in the beginning of our developer journey. Lets use some of the free services available to us.
ReactJS is a popular front-end library used to make websites/web applications and the output of a production React app is a combination of HTML, CSS, and JavaScript files. These are all considered static files to the cloud providers. Some cloud providers allow you to deploy static files for free! In this tutorial, we'll be using an existing React application and deploy it for free on DigitalOcean's App Platform.
To deploy on DigitalOcean App Platform, you will need the following:
- A credit card (as of writing this tutorial, they won't charge you unless you exceed their free allowances in their Starter plan. Look here for more details: https://www.digitalocean.com/pricing/app-platform)
- A GitHub/GitLab account. This tutorial uses GitHub
1. Have Your React Project Ready for Deployment
This tutorial assumes you have an existing React application that was created using create-react-app. For those who don't have an application, here is one that you can fork; it is a simple cryptocurrency price tracker:
Make sure to publish your project to GitHub as DigitalOcean's App Platform will get your project from your GitHub repository.
2. Enter DigitalOcean
Go to https://www.digitalocean.com/ and sign up, or log in if you already have an account. Once you setup you account, you should see Apps on the left-hand side navigation, click it. Now you should you should see a similar screen:
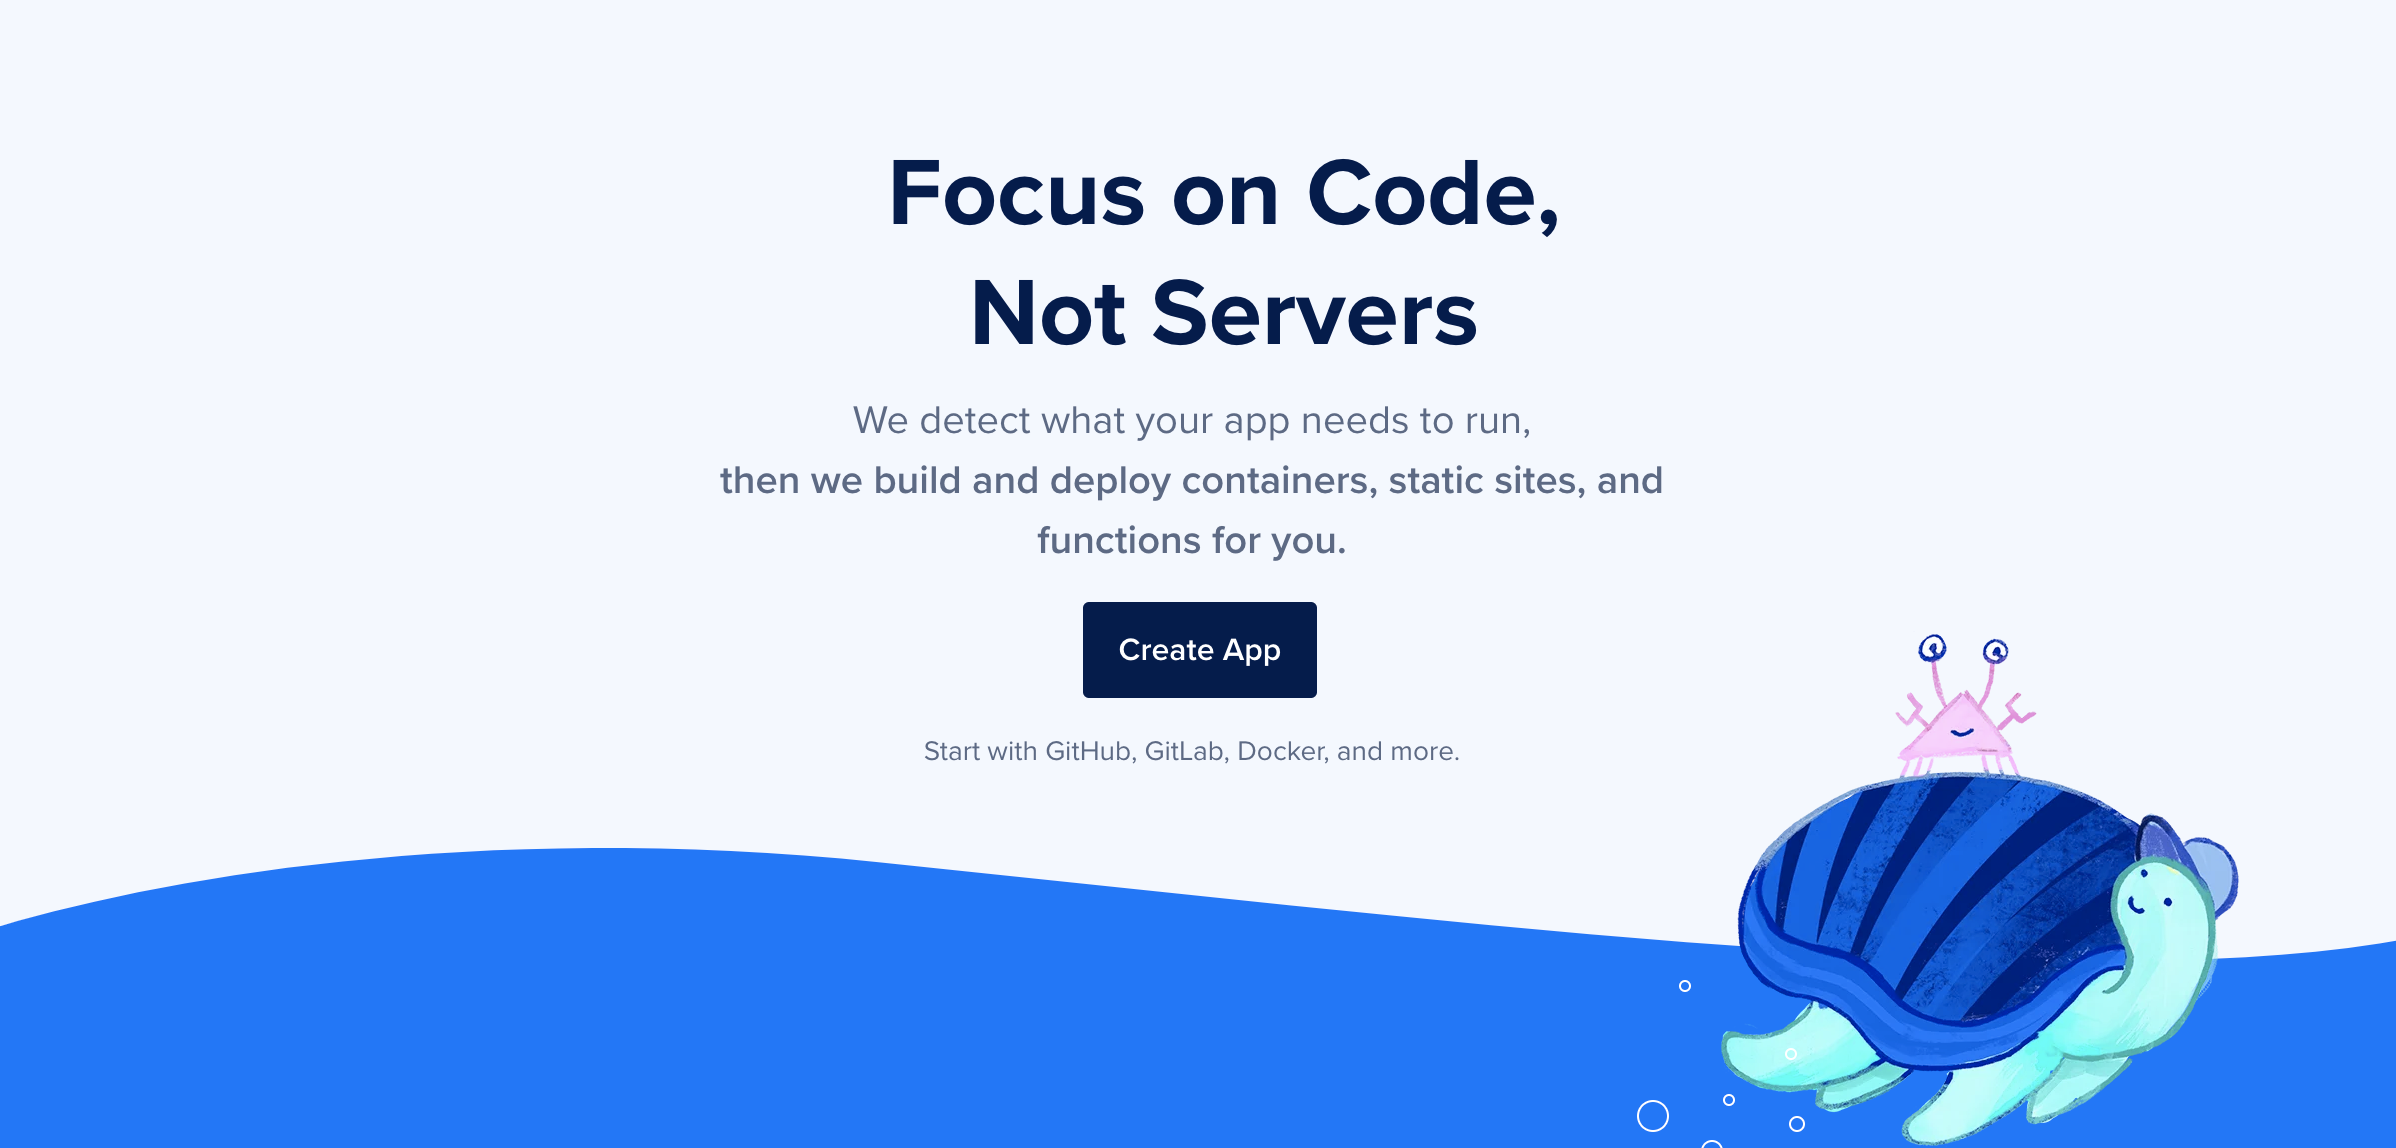
Go ahead and click Create App to get started.
3. Creating the App on App Platform
Now, you'll see the following screen. DigitalOcean's App Platform is great for beginners because of its simple user experience. Go ahead and select which resource you have chosen to host your project's repository:
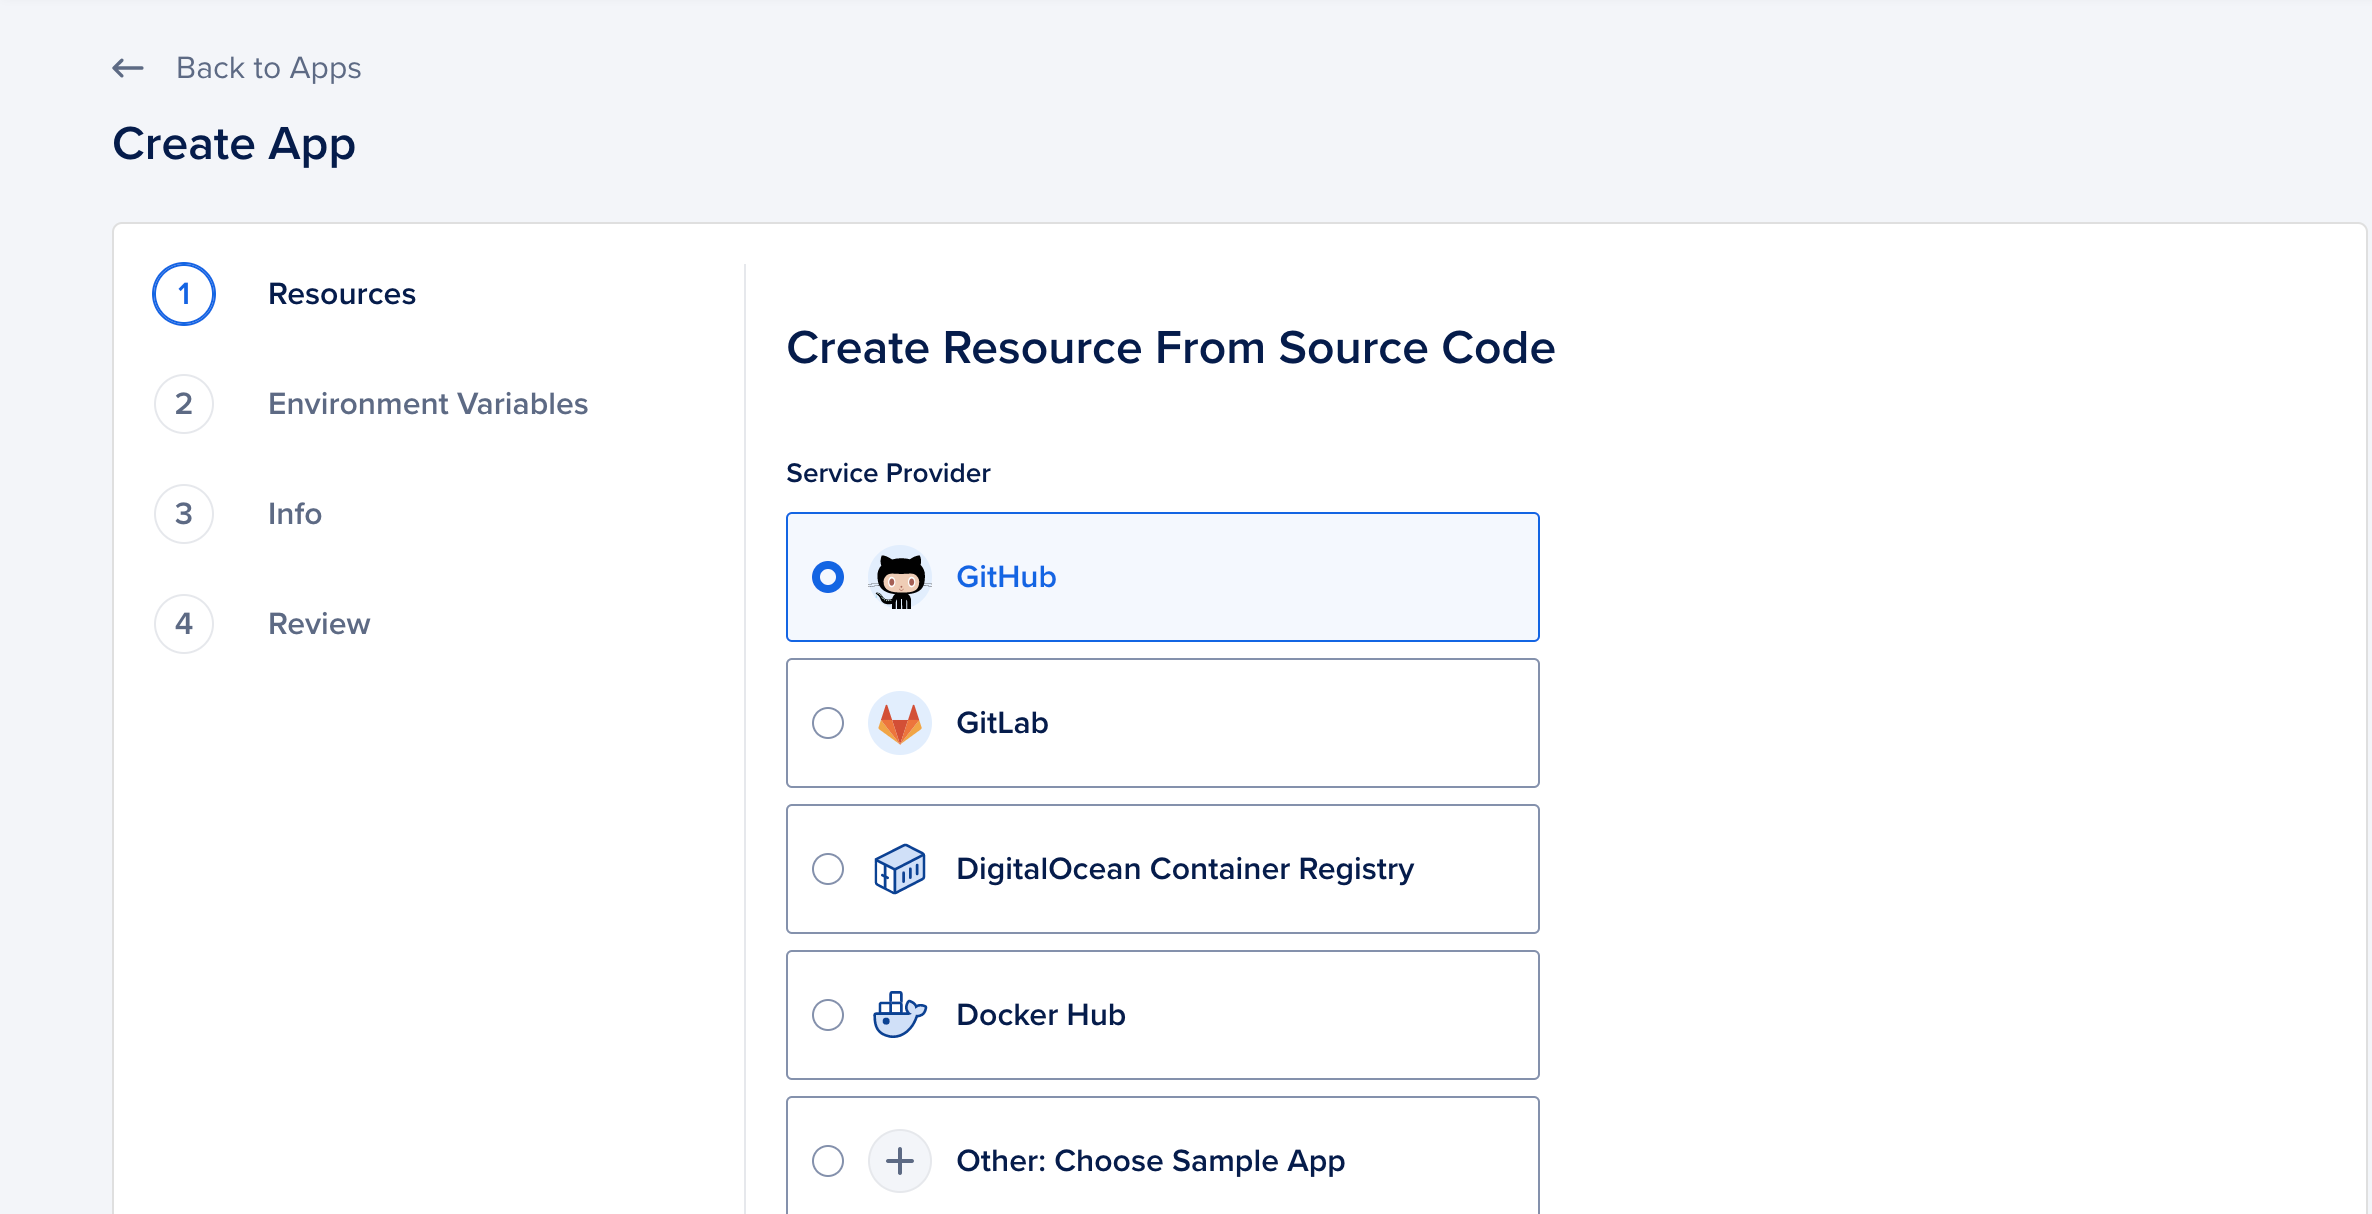
Once selected, click on Mange Access. This will take you to the selected service provider's website and ask you to sign in and give your DigitalOcean account access to your service provider account, so it may read from your hosted repository.
After allowing access, you should be redirected to the previous screen on DigitalOcean. Click Next. This next screen will ask you to select the specific repository you want to deploy. Select your project that you wish to deploy in the Repository dropdown and click Next:
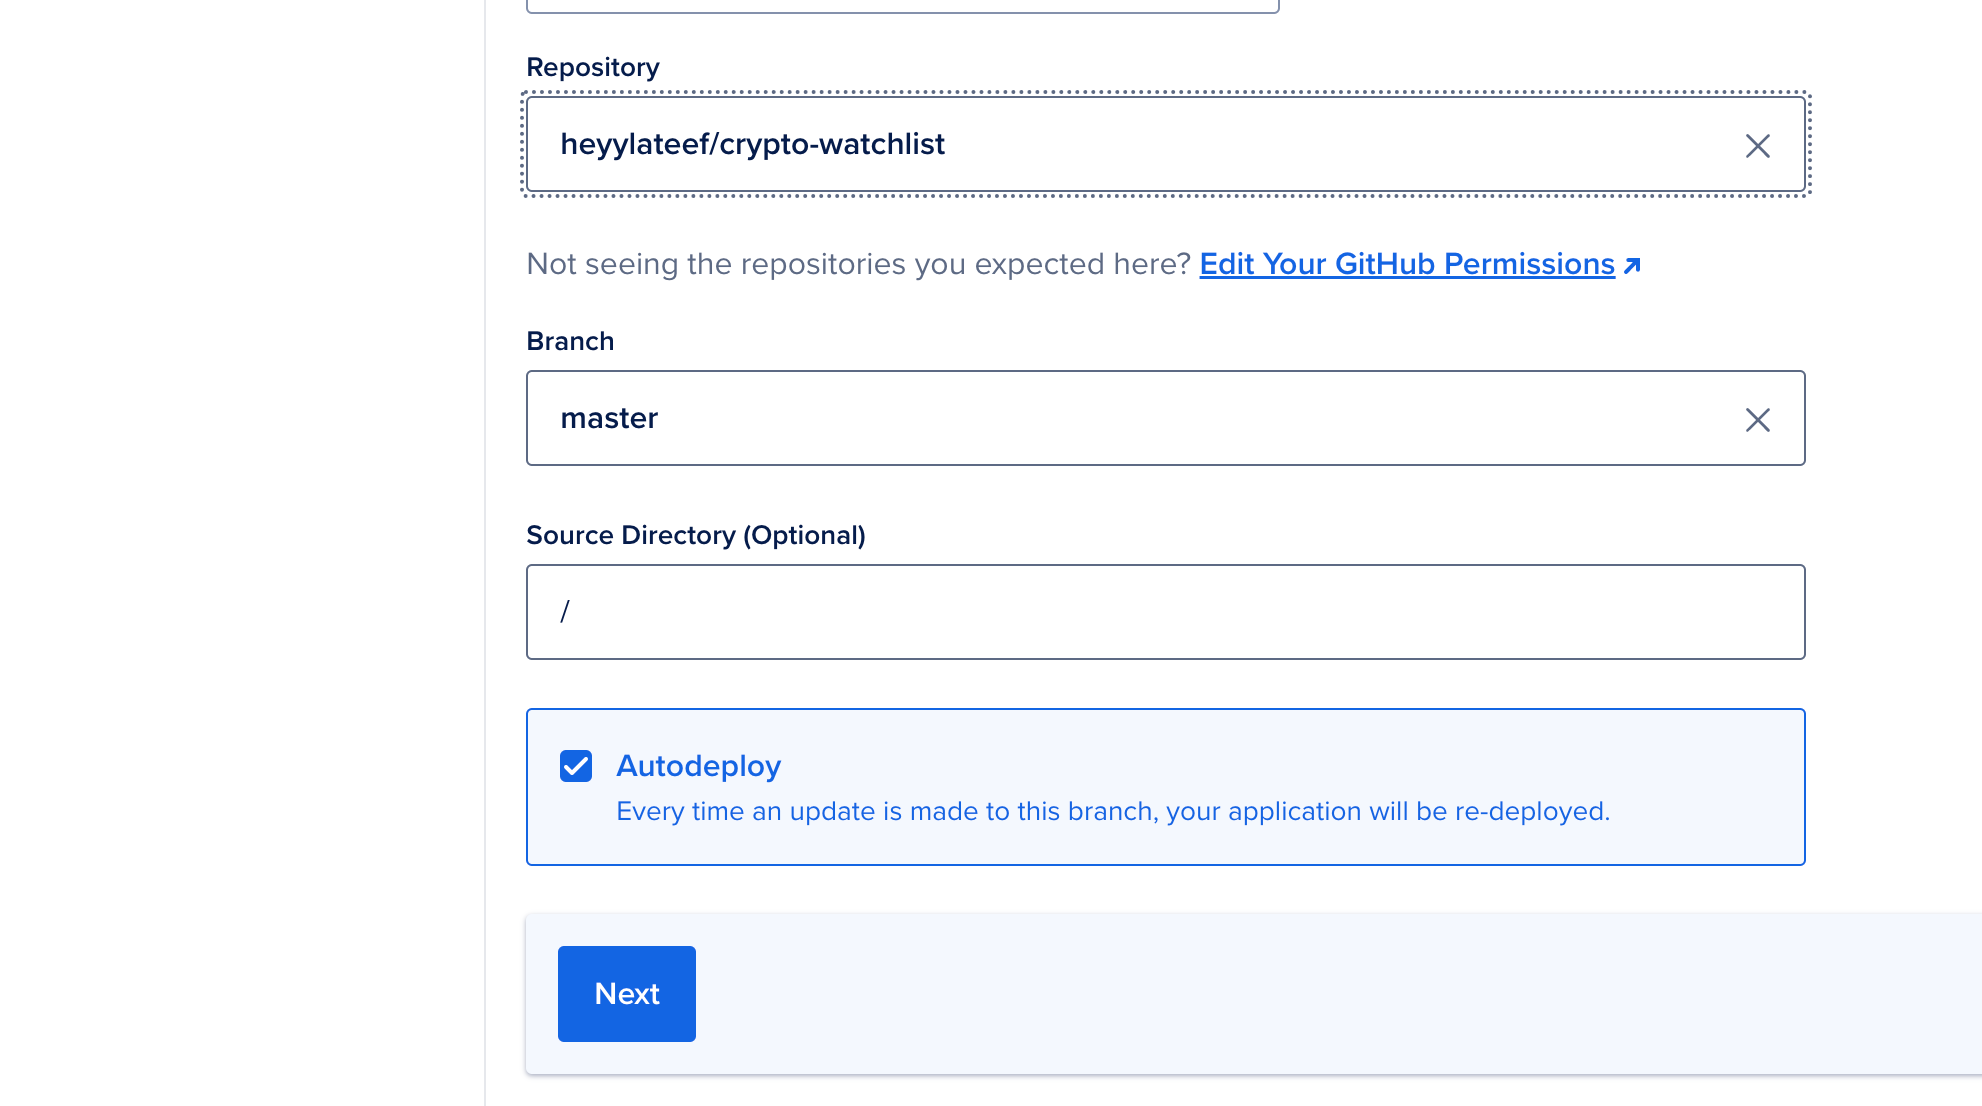
Now you should see the repo you've chosen listed. DigitalOcean's App Platform has a few different plans but we want to specify that our React project will use their free Starter plan. Click on the pencil icon next to your selected repo.
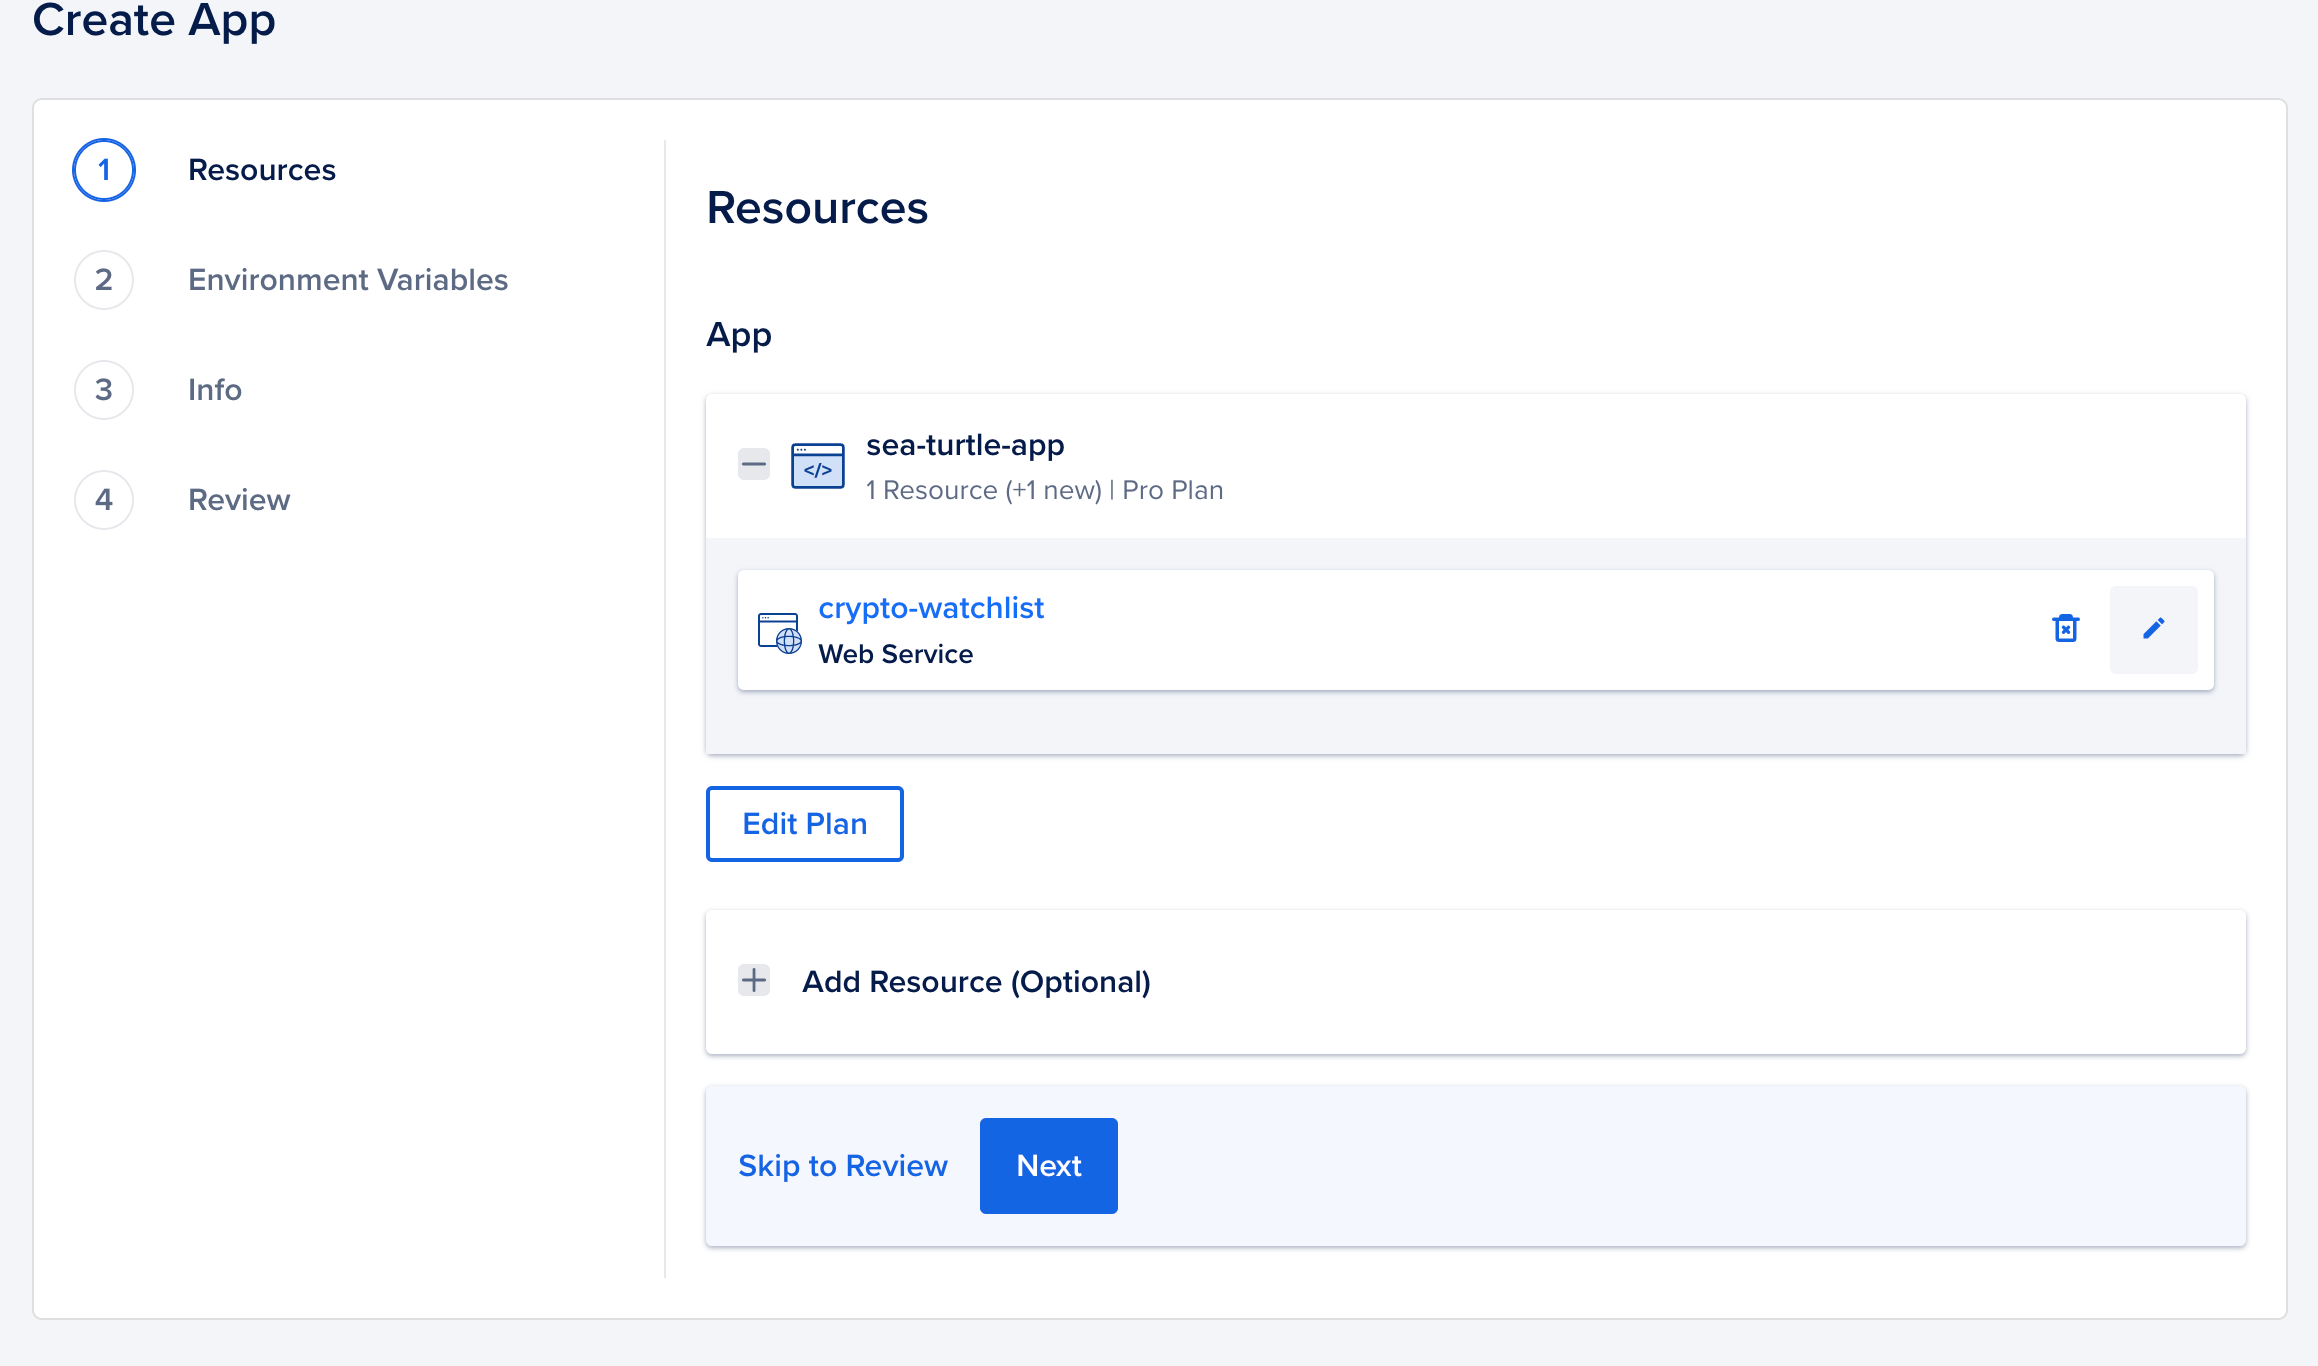
Select Static Site. You can keep everything else default and not change anything else. Click Next
Finally, you'll be presented with a screen that has the cost breakdown of your app.
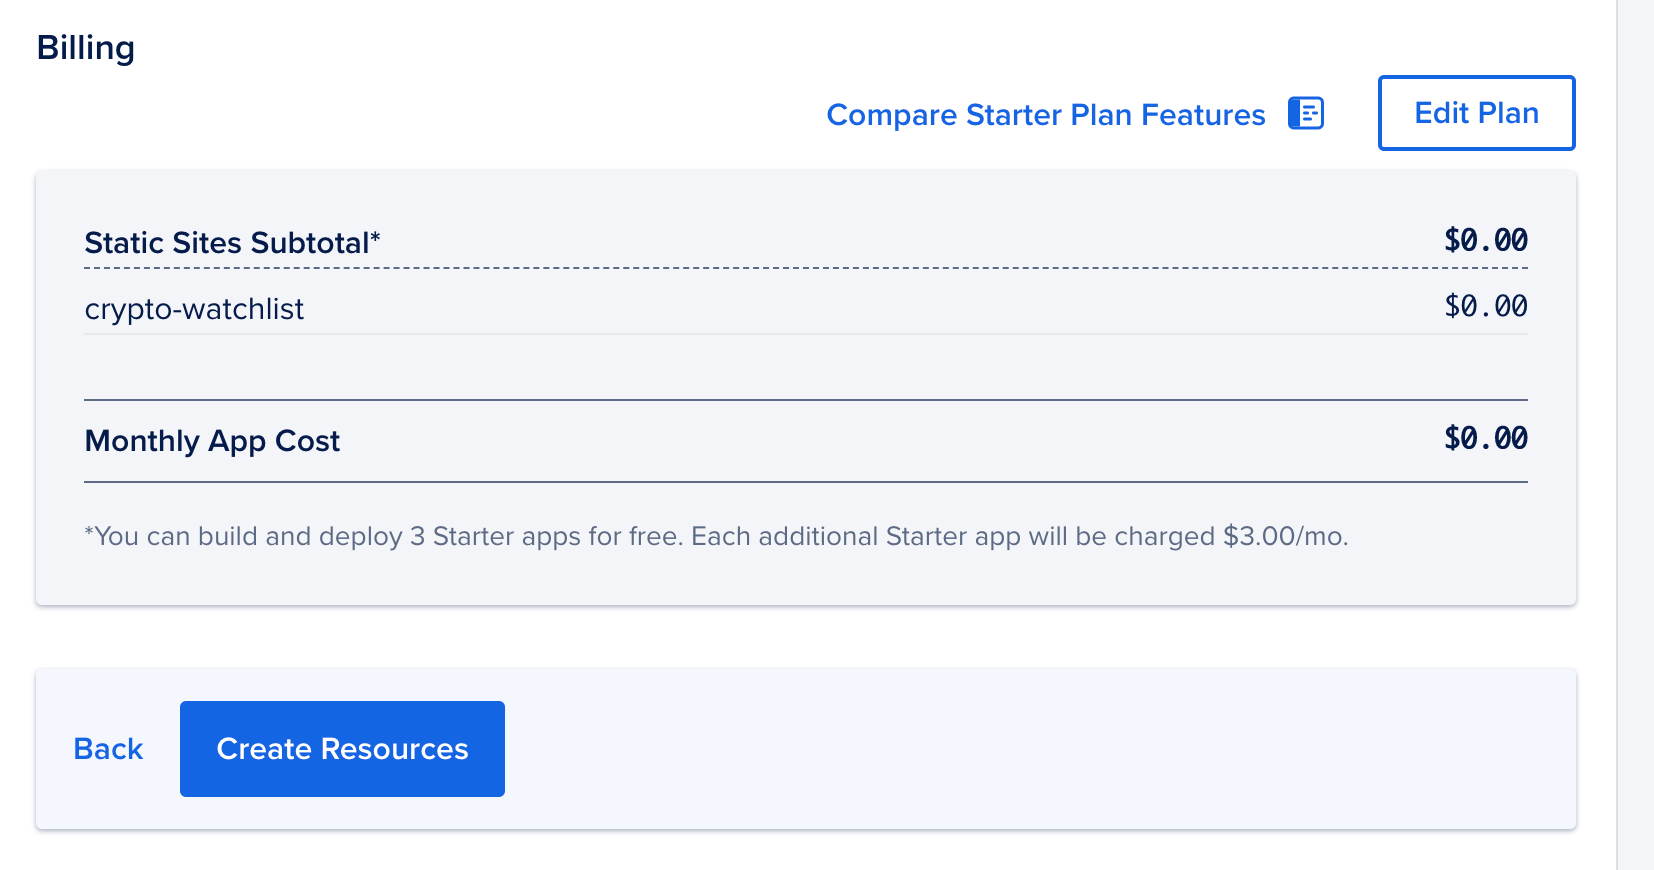
If everything looks right, go ahead and click Create Resources. Your resources should take about a few minutes to create. Once finished, you'll see a message to go and check out your live application with a free domain name and TLS/SSL security on for free! Click on the Live App button to your deployment!

About The Lab
Like the content posted on this site? Need help with another web project? Want to give some feedback? Feel free to contact me via email or social media!
Know more!