How to Improve SEO on Your Django Website
Search Engine Optimization Tips and Tricks on Django heyylateef | Jan 11 2023Overview
Are you a back-end developer that has a blog or a e-commerce website but isn't converting? You've probably looked into marketing but realized that it is extremely expensive. Now after traveling down a rabbit hole, you've stumbled upon the term "SEO". Search Engine Optimization is the process of improving your website's chances of being indexed (discovered) by search engines such as Google and Bing.
In this article, we'll learn how to use Django's Sitemap app to help improve our SEO (search engine optimization). This tutorial assumes you have an existing Django project.
1. Sitemap App
A sitemap is an XML file that contains information for website crawlers and search engine indexers on how frequent some HTML content may change or how important a particular HTML page is in relation to other pages on the website. The XML file is supposed to have all the links to each HTML page that you wish to be indexed by search engines, so its best to have this XML to be automatically generated and updated whenever you create a HTML page (i.e. add a new HTML page for your new product or new blog post).
Luckily, Django provides a built-in app named sitemaps that helps us do just that! To install the app, copy, paste, and save the following in your project's settings.py:
# settings.py INSTALLED_APPS = [ | |
| ... | |
| 'django.contrib.sites', # Needed only to use sitemap framework | |
| 'django.contrib.sitemaps', #Sitemap framework; good for SEO | |
| ] |
Next, go to your own Django app's root folder, create a new file called sitemaps.py Here is an email of how to use the Sitemap framework for indexing all blog posts for a blog app. Copy, paste, and save the following:
#.../djangoapp/sitemaps.py from blogapp.models import Blogpost |
from django.contrib.sitemaps import Sitemap |
| class BlogSitemap(Sitemap): |
| changefreq = "monthly" |
| priority = 0.5 |
| def items(self): |
| return Blogpost.objects.filter(status="PUBLISH") |
| # return Blogpost.objects.all() |
| def lastmod(self, obj): |
return obj.updated_on |
In the above example, we create a new class BlogSitemap. We define the changefreq and priority values to tell the Sitemap framework on how often the content of each blog post instance/HTML may change, as well as the importance of each blog post in relation to all other pages on our website. We also define some other objects for our sitemap. On line 13, we define the items that the Sitemap should index. In our case for this blog post example, we return the instances of a Blogpost model objects so the sitemap framework can index each new blogpost we create. We also defined the lastmod function for the Sitemap framework with returning the updated_on method of our model object to give the framework information on the last time each blogpost was modified. This date is often used by web crawlers and is displayed on search engines such as Google. It is helpful for people who are searching for recent articles as users may want to see the date of the post in their search query. For more information about how to use the sitemap framework, take a look at the official Django documentation.
Lastly, go to your Django project's urls.py. We're going to link our blog app's sitemap to our project's urls as well as the generated XML. Copy, paste and save the following inside your project's urls.py (not your app level urls!):
from django.contrib import admin from django.urls import path, include | |
| from django.contrib.sitemaps.views import sitemap | |
| from blogapp.sitemaps import BlogSitemap | |
| sitemaps = { | |
| 'blog': BlogSitemap, | |
| } | |
| urlpatterns = [ | |
| path('admin/', admin.site.urls), | |
| path('', include('blogapp.urls')), | |
| path('sitemap.xml', sitemap, {'sitemaps': sitemaps},name='django.contrib.sitemaps.views.sitemap') #Sitemap URL; good for SEO | |
| ] |
2. HTML Meta Tags In Templates
Another major part of SEO is including HTML meta tags in templates. Thanks to Django's templating system, we often include meta tags in the base.html component and just extend/use the base.html in all other related blogpost HTML templates. Inside of your Django app's templates, add the following to your base.html inside the <head> HTML tag:
| <meta charset="utf-8"> | |
| <meta name="viewport" content="width=device-width, initial-scale=1, shrink-to-fit=no"> | |
| <meta property="og:site_name" content="YOUR_WEBSITE_NAME"> | |
| <!--<meta property="og:title" content="TITLE_OF_YOUR_WEBSITE"> | |
| <meta property="og:description" content="DESCRIPTION_OF_YOUR_WEBSITE"> --> | |
| <meta property="og:image" content="YOURIMAGEURL.JPG"> | |
| <meta property="og:type" content="blog"> |
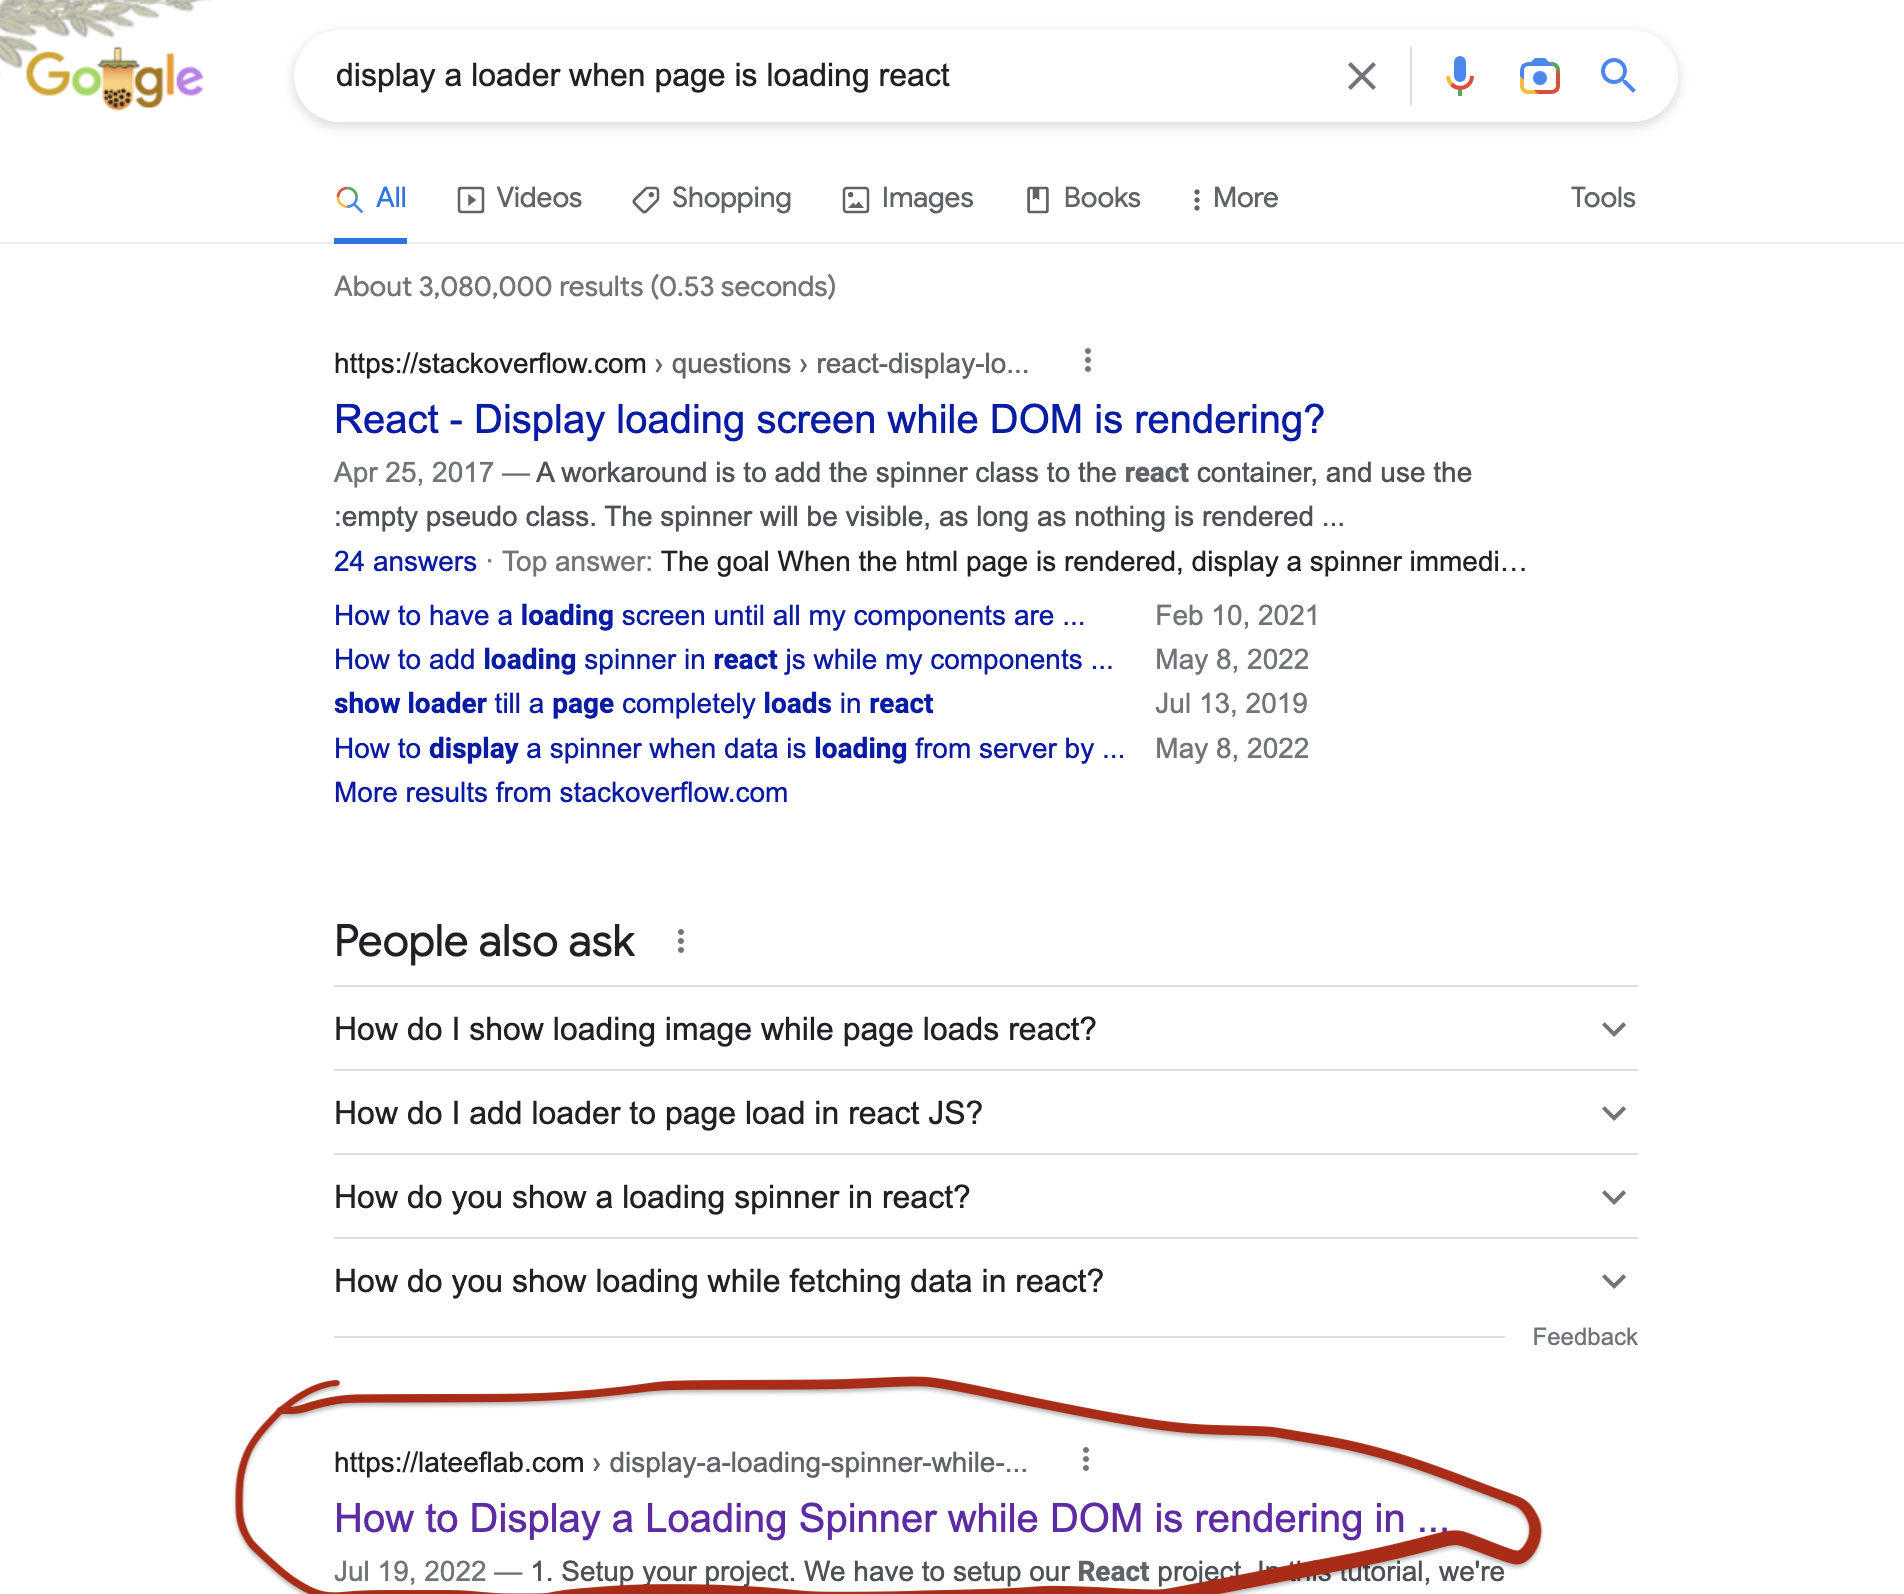
Once you've successfully added the Sitemap framework and used HTML Meta tags, you should start seeing your website rank on search engines. Inside of your HTML, make sure to play around with keywords and be creative! Search engines index thousands, if not, millions of web pages so you may have to be unique to start getting ranked high (and hopefully getting conversions!). Here is an example of this site using the Sitemap framework (as of the time of writing this article) and appearing on the first page, 2nd link, on a google search:
Who Can Help Me With SEO on My Django Site?
If you're finding it challenging to navigate the complexities of SEO for your Django-based website, you're not alone. But there's good news: Webisoft can help. Specializing in software development and SEO optimization, Webisoft can guide you in setting up Django's Sitemap app and go a step further to enhance other crucial SEO factors, such as keyword optimization and meta tag setup. With Webisoft on your side, you can significantly improve your search engine rankings and conversions. Take a look Webisoft today!
About The Lab
Like the content posted on this site? Need help with another web project? Want to give some feedback? Feel free to contact me via email or social media!
Know more!